
Last updated October 16, 2026
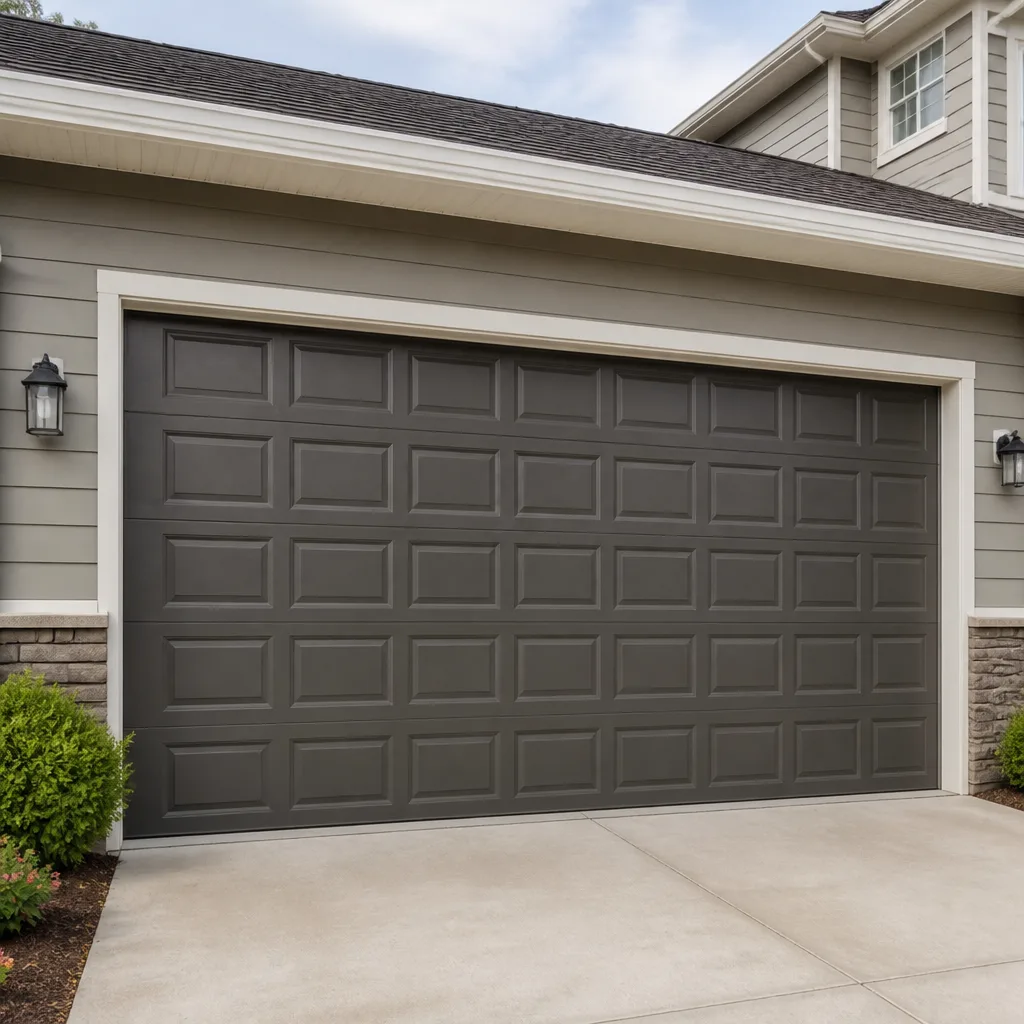 Raised-panel steel
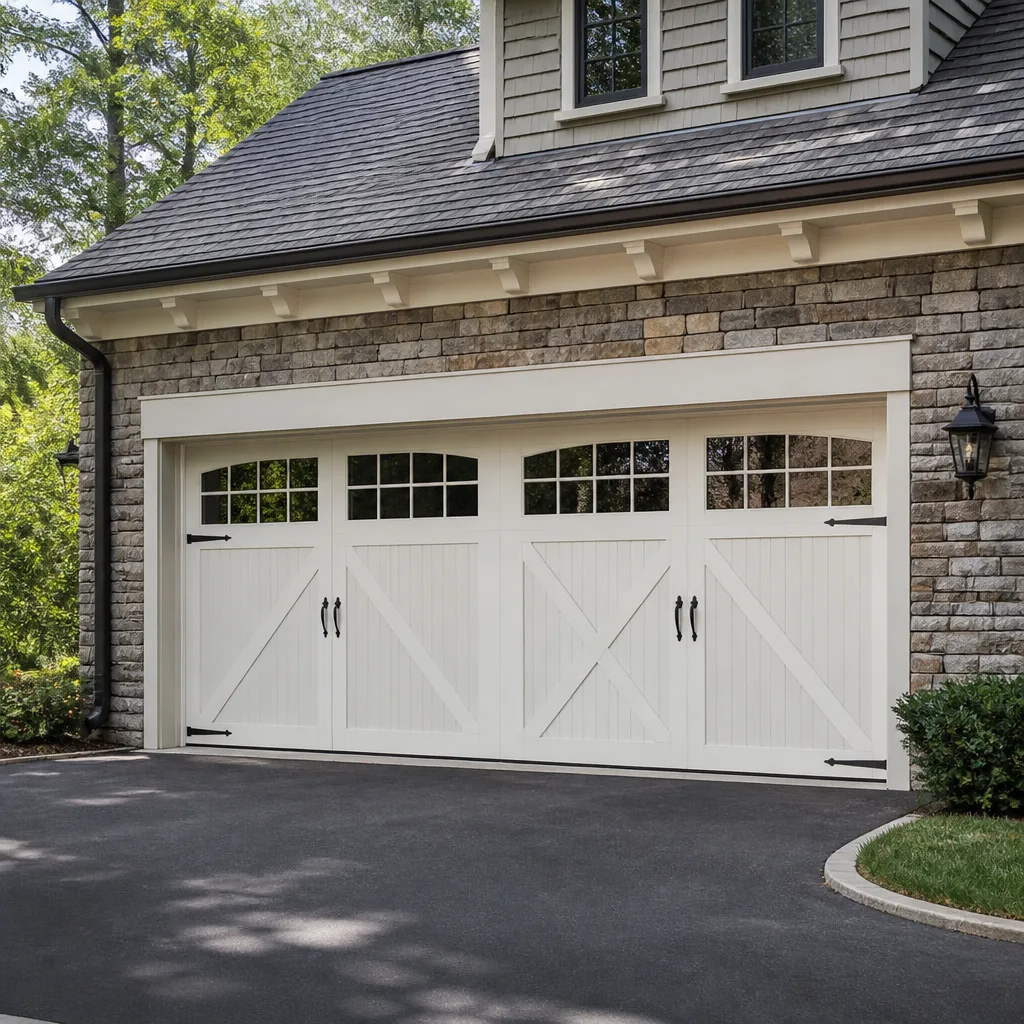 Carriage house
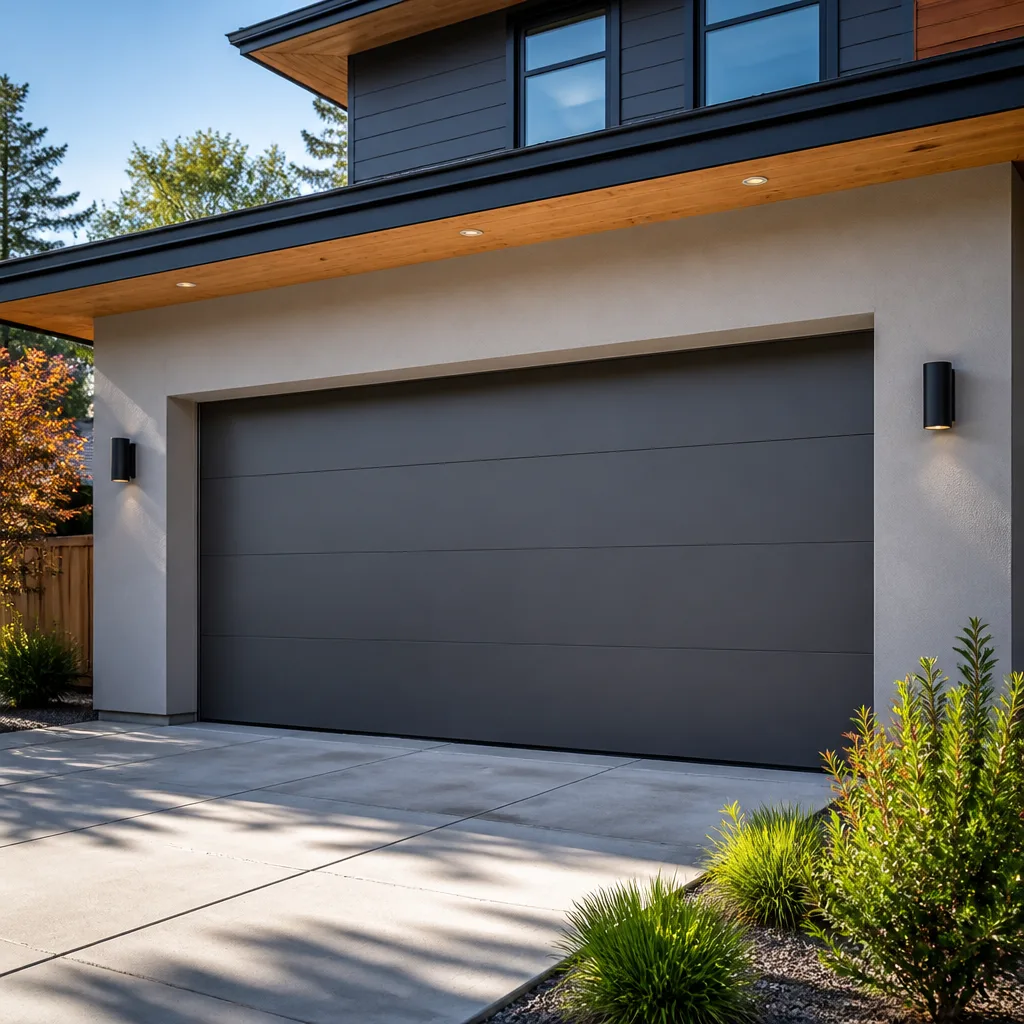 Modern flush
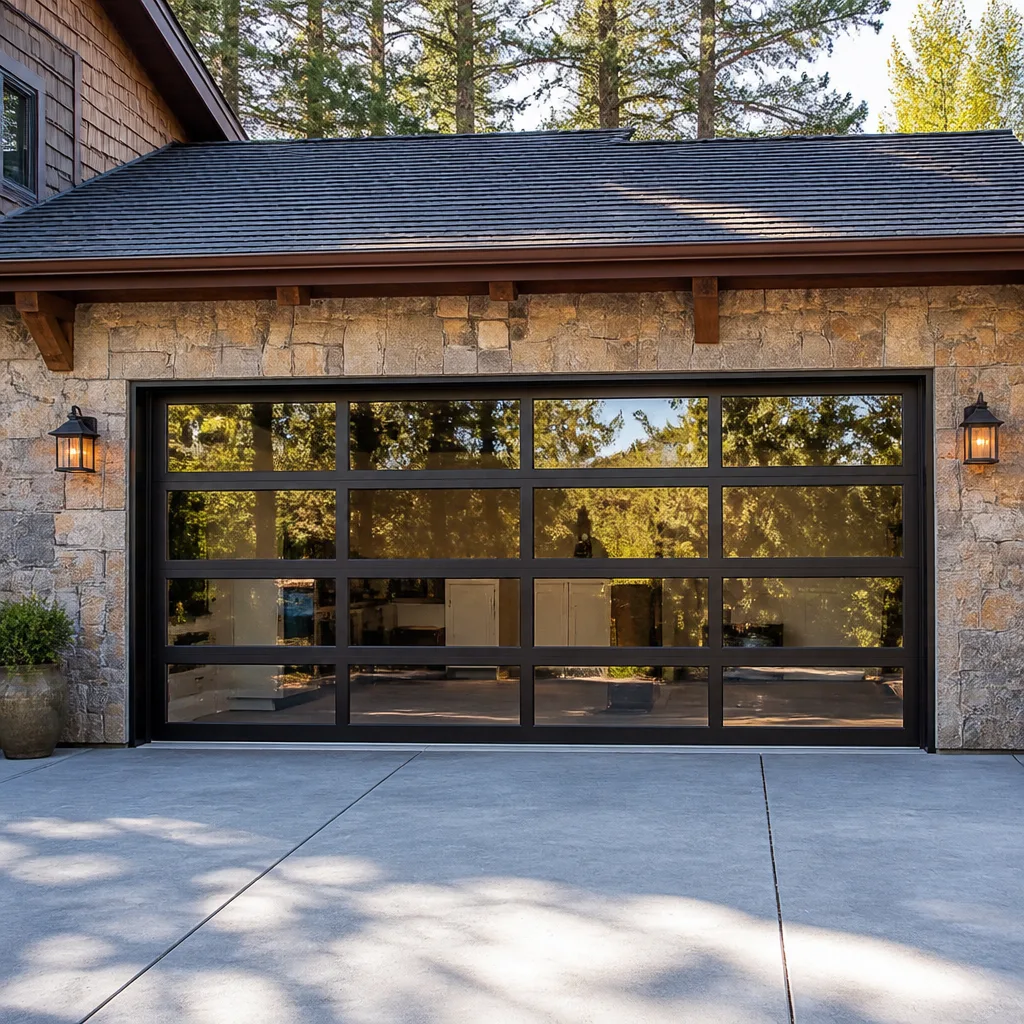 Full-view glass
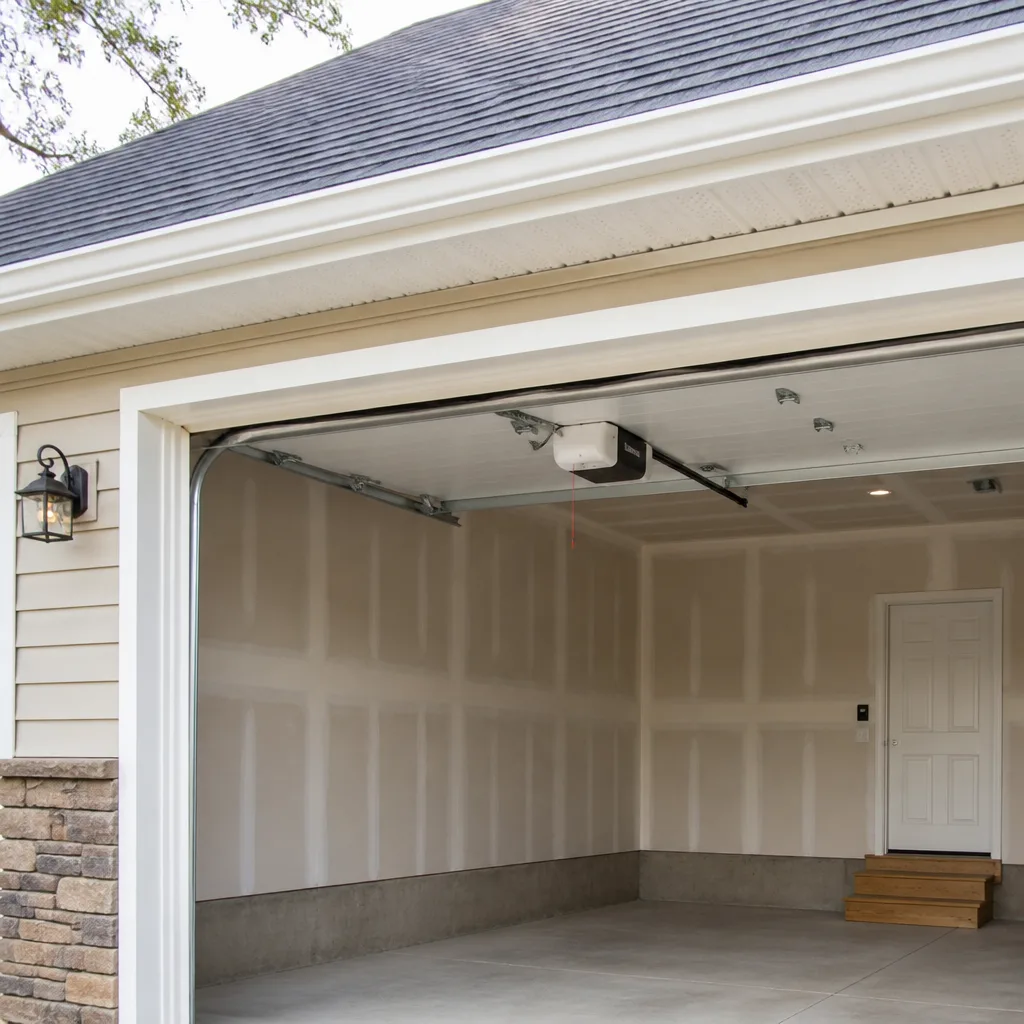 LiftMaster openers
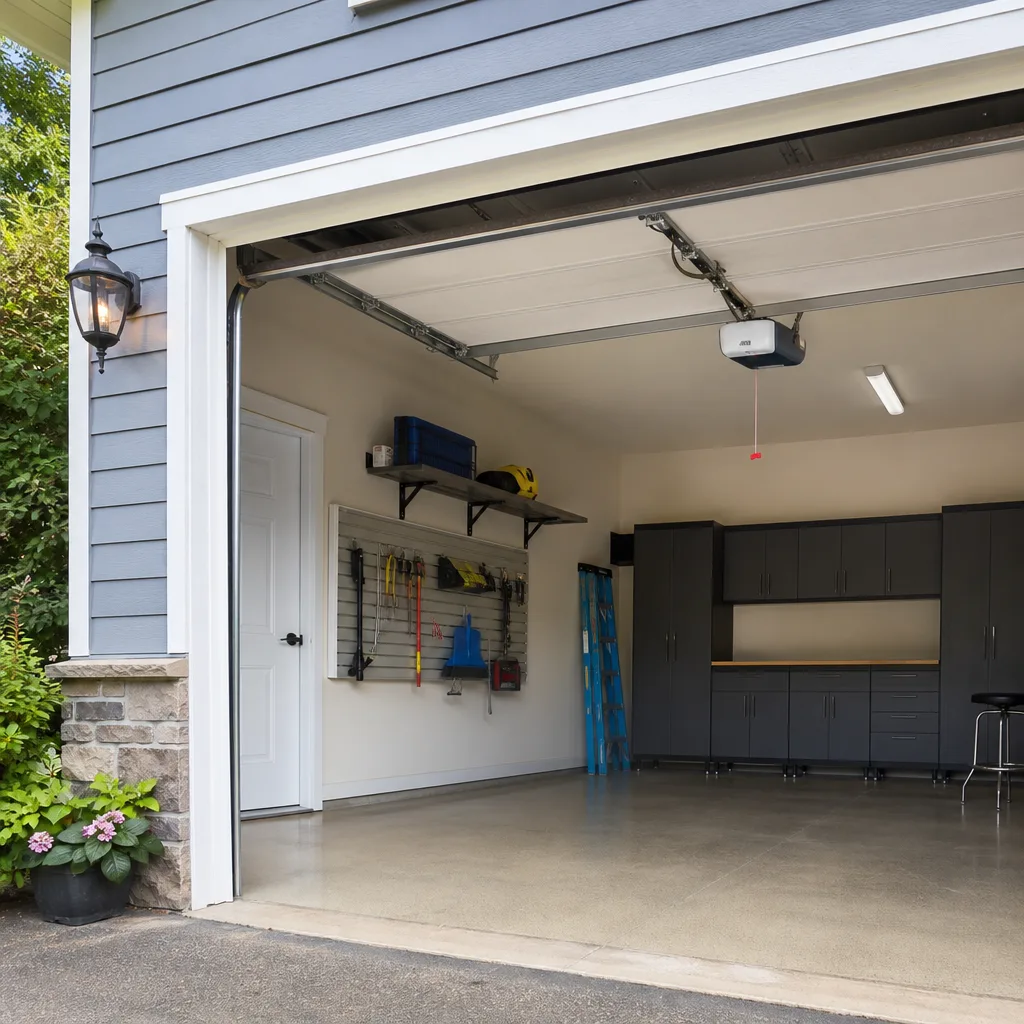 Chamberlain openers
Full 25-point door and opener safety check with every visit - springs, cables, rollers, tracks, and your LiftMaster or Chamberlain opener included
You get a price before we start. It does not change when the truck arrives.
Get your free estimateGarage Door Repair Maintenance Checklist for Marietta Homeowners
The average emergency garage door call in the Atlanta metro happens on a Monday morning. Not because doors prefer to break on Mondays, but because the door was borderline all weekend and nobody checked. A torsion spring with a developing crack, a trolley carriage quietly grinding itself down, a limit switch drifting out of calibration: each one hums along fine right up until it doesn’t. A 20-minute annual inspection with clear pass/fail criteria would have flagged the problem in time to schedule a non-urgent repair. This guide gives Marietta homeowners exactly that: a printable, once-a-year checklist with binary pass/fail standards, not vague instructions to “check your springs.” You’ll learn what to look at, what passing looks like, what failing looks like, and what each caught-early repair costs versus the emergency version. We’ve been providing Garage Door Repair services in Marietta since 2001, and the failures we see most often are the ones nobody knew to look for.
Styles & brands we work with
Quick Answer
A garage door maintenance checklist for Marietta homeowners should cover seven inspection points: springs, cables, rollers, tracks, the trolley carriage, the limit switch, and weatherstripping. Each item gets a clear pass/fail test. Run through it once a year, ideally in early February before pollen season coats everything, and again in October before the cold snaps. The three items that cause the most sudden failures are torsion spring tension, trolley carriage wear, and limit switch calibration: if those three pass, you’ve eliminated roughly 80% of emergency call scenarios we see across Marietta, from East Cobb to Kennesaw Mountain.
Table of Contents
- Springs and Cables: The Pass/Fail Standard
- Rollers and Tracks: What Wear Actually Looks Like
- The Trolley Carriage: The Most-Overlooked Wear Point
- Limit Switch Calibration: The Silent Drift
- Lubrication: Why Marietta’s Climate Changes the Schedule
- Weatherstripping and the Pollen Problem
- What You Can Safely Check Versus What Needs a Technician
- The Cost Case: Caught Early vs. Full Failure
- Common Mistakes to Avoid
- When to Call a Professional
- Frequently Asked Questions
- The Bottom Line
Springs and Cables: The Pass/Fail Standard
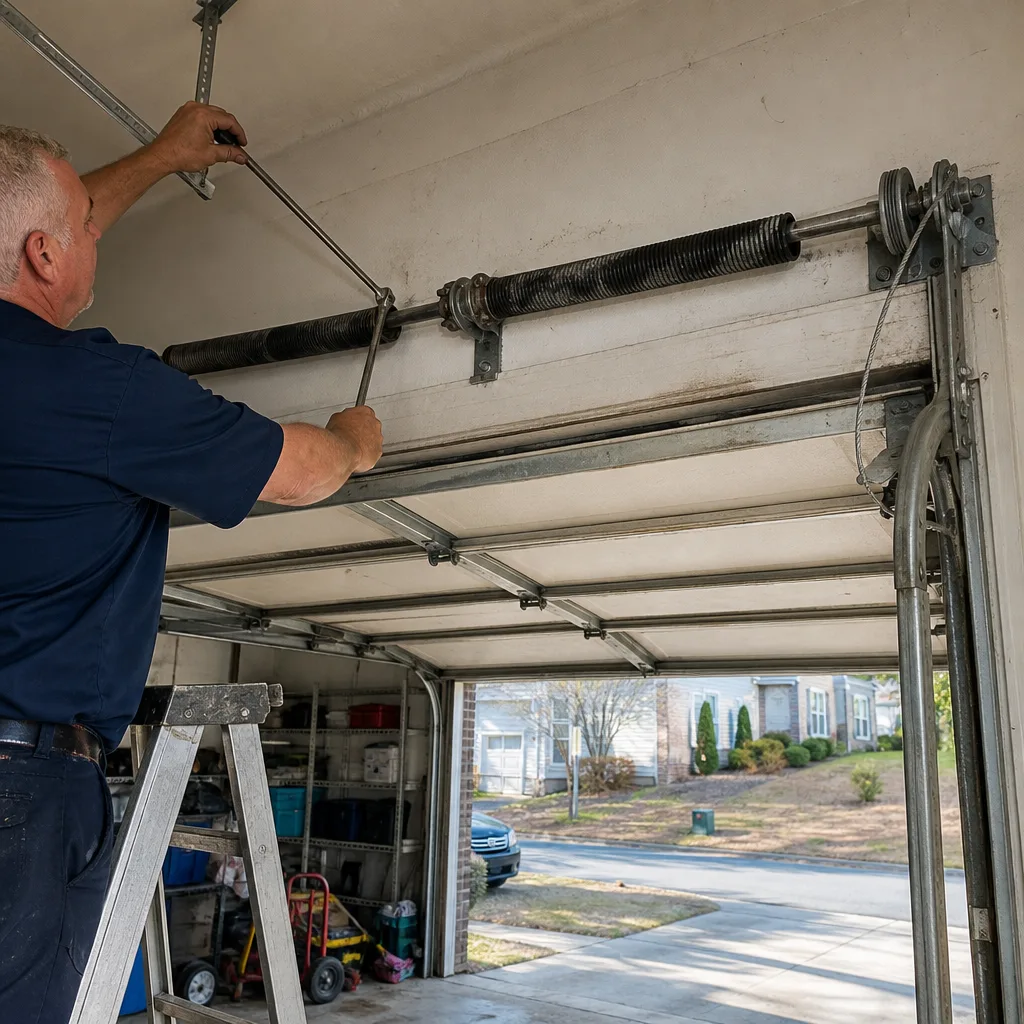
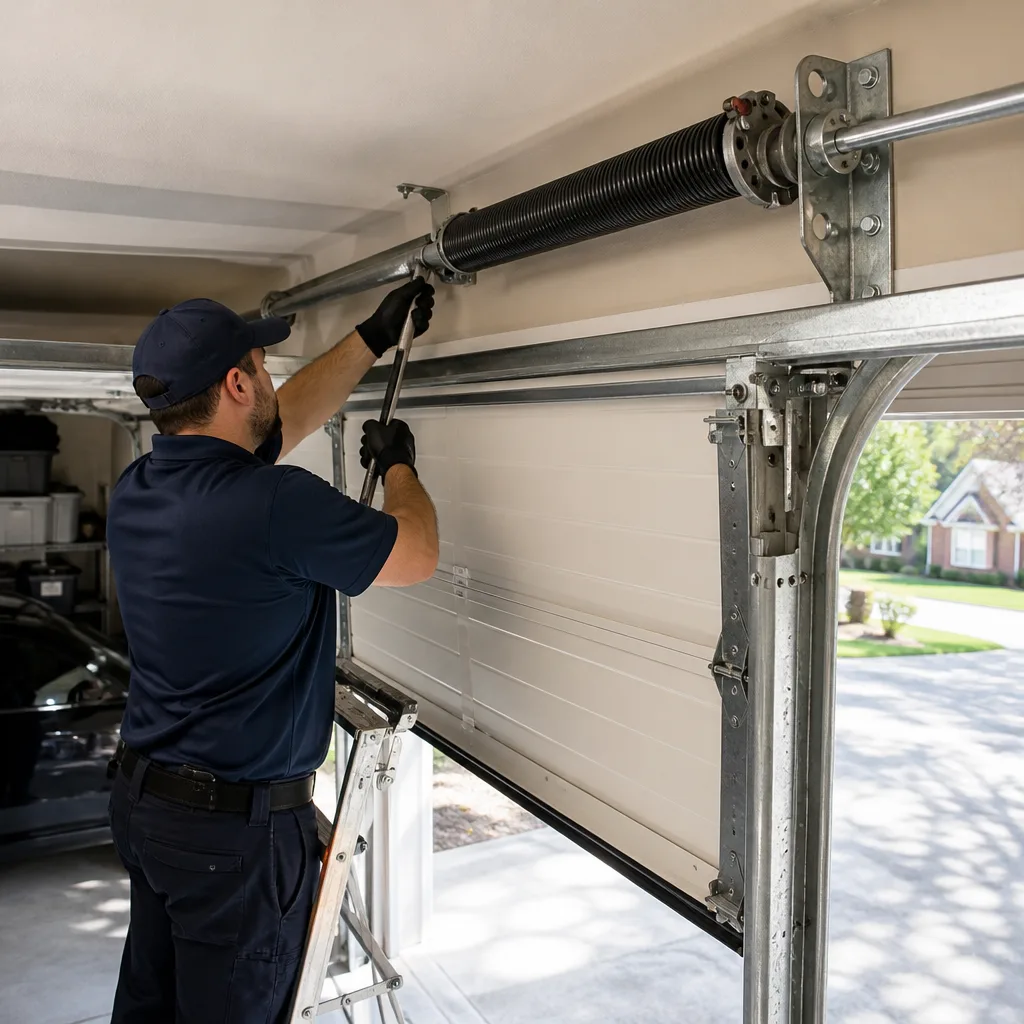
A torsion spring is the large coil mounted horizontally above the door opening. It stores the mechanical energy that does most of the lifting, which means when it fails it doesn’t fade: it snaps. The sound is a gunshot-like bang that homeowners across Marietta describe the same way: “I thought someone hit the house.” Cables are the braided steel lines running along both sides of the door that transfer that spring tension to the door itself. If a cable has started to fray, the remaining strands are carrying more load than they were designed for, and they will fail the same way the spring did: suddenly.
Pass standard for springs: The torsion spring shows no visible gaps between coils, no rust that flakes when touched, and no elongation of the spring body. It should be the same diameter across its full length. When the door is closed, the spring should be under visible but not excessive tension: no coils touching, no coils separating more than a dime’s width.
Fail standard for springs: Any visible gap between coils wider than a dime, any rust that flakes, any obvious stretching, or a spring that looks “unwound” on one side. If you see a crack forming at a coil edge, that’s an automatic fail. Do not continue using the door. Do not attempt to adjust, remove, or replace the spring: the tension in a wound torsion spring is enough to cause serious injury or death if released improperly. When we inspect a Marietta home and find a cracking spring, we treat it the same way we’d treat a gas leak: the door gets locked out and the repair gets scheduled before the house is left.
Pass standard for cables: Cables show no fraying, no discolored sections, no kinks, and no rust. They should sit fully inside the cable drum grooves on both sides. No strand separation is acceptable: the moment you can see individual wire strands separating, the cable is done.
Fail standard for cables: Any visible strand separation, any kink that remains after the door cycles, any rust stain that streaks the cable, or a cable that appears loose at the drum. Loose cables typically mean the door has slipped out of balance, which means something upstream has already changed. Do not attempt to re-seat a cable yourself: a cable under tension that releases unexpectedly will whip.
Rollers and Tracks: What Wear Actually Looks Like
Rollers are the wheels attached to the door’s hinges that ride inside the vertical and horizontal tracks. They wear down over time, and when they wear unevenly the door starts to vibrate, then shimmy, then bind. In Marietta’s humidity, rollers also collect the fine grit that pollen season leaves behind, which accelerates the wear cycle during spring more than any other season.
Pass standard for rollers: Rollers rotate freely when the door moves. No flat spots, no wobble, no marks that look like someone took a file to one side. Nylon rollers should still have a smooth, continuous surface. Steel rollers should not squeal when the door operates.
Fail standard for rollers: Any visible flat spot, any wobble when the roller is spun by hand, any side-to-side play in the roller stem, or any metallic screeching noise during operation. We see worn rollers frequently in Marietta neighborhoods with mature trees; the combination of pollen grit and shade-driven moisture accelerates roller degradation in places like Indian Hills and Whitlock Heights.
Pass standard for tracks: Tracks are straight with no bends, have no rust scale building on the interior surface, and the mounting brackets are tight to the wall with no visible movement when the door cycles. The door should move through the track without a visible lateral shift.
Fail standard for tracks: Any bend, any visible gap between the mounting bracket and the wall, any sign the roller is chewing a groove into the track surface, or any rust that has begun to pit the metal. A door that visibly shifts left or right during travel is an automatic fail: that movement is grinding the rollers against the track and creating the exact conditions for a future derailment.
The Trolley Carriage: The Most-Overlooked Wear Point
The trolley carriage is the small assembly that rides along the opener’s rail, connecting the opener motor to the door itself. It’s the part doing the actual pulling on every single cycle. Most maintenance guides skip it entirely because it lives inside the opener mechanism, but it is the single most common opener failure point we repair in Marietta, ahead of the motor and ahead of the circuit board.
Pass standard: The trolley carriage moves smoothly along the rail without hesitation. When the opener runs, there should be no grinding, no clicking from the carriage area, and no shaking of the rail. The carriage should not appear to flex or twist as it engages.
Fail standard: Any visible metal shavings on the rail, any rough spots on the rail surface, any clicking sound that repeats on every cycle, or any carriage movement that looks jerky rather than smooth. If you run your finger along the rail (opener unplugged, door disengaged) and feel grooves or ridges, the carriage has been eating the rail. On some LiftMaster and Genie models this is repairable; on others the carriage assembly needs replacement. Either way, catching it before the carriage seizes is a $150-$250 repair versus a $400-$600 full opener replacement.
The reason this matters so much to Marietta homeowners: we see trolley carriage failures spike in summer, when garage temperatures in Cobb County regularly exceed 100 degrees. Heat softens the carriage’s plastic wear surfaces and accelerates rail wear. If your garage is not climate controlled, check the trolley carriage twice a year instead of once.
Limit Switch Calibration: The Silent Drift
The limit switch tells your opener where the door should stop: at full open and at full closed. It’s not a component that fails suddenly. It drifts. Over hundreds of cycles the switch moves slightly out of position, and the door starts stopping a little early or a little late. The homeowner rarely notices because the change is gradual, right up until the door either slams into the concrete or refuses to close all the way, leaving a gap that invites rodents and heat loss.
Pass standard: The door stops exactly at the floor at close and exactly at the header at open, every time. No bounce-back on close, no slamming on open, no gap under the closed door. Run the door three times in a row and watch the stopping points: if they’re identical all three times, the limit switch is holding calibration.
Fail standard: The door bounces back up after touching the floor (that’s the opener’s safety reversal kicking in because the limit switch is telling it the floor is further down). The door stops an inch short of the floor. The door slams hard at the bottom of travel. The door reverses at the top. Any of these is a limit switch problem, and on most modern openers including Chamberlain and Raynor models, recalibration is a straightforward technician fix.
One note specific to Marietta: the red clay soil around Cobb County settles. If your garage floor has shifted even slightly since the opener was installed, the limit switch setting that was right two years ago is now wrong. This is a location-specific failure we see regularly, and it’s one reason we recommend a calibration check every fall.
Lubrication: Why Marietta’s Climate Changes the Schedule
National garage door guides typically recommend lubricating your door twice a year: once in spring, once in fall. For Marietta that schedule is wrong in one important way. Our pollen season runs from February through May, and pollen in Georgia is not just abundant: it’s sticky. It mixes with door lubricant into a gummy paste that attracts additional grit. If you lubricate in early March, you’re gluing pollen to your rollers for the next three months. The correct schedule for Marietta is: lubricate in late January, before the yellow dust arrives, then again in June, after it’s gone, and a final light application in October before the temperature drops.
What to lubricate: the torsion spring (a light coat across the coil surface), the roller bearings, the hinges, and the chain or screw drive on the opener. What not to lubricate: the track itself. Rollers are meant to roll, not slide; a greased track attracts grit and turns into sandpaper. Use a white lithium grease or a dedicated garage door lubricant, not WD-40. WD-40 displaces existing lubricant and dries out, leaving the surface with less protection than it started with.
Pass standard: Springs and hinges show a thin, even lubricant film. Rollers spin freely with no resistance. The door operates with no squeaks, no grinding, and no dry-metal sounds.
Fail standard: Any squeaking, any dry-metal scraping, any hinge that feels stiff when the door moves, or any visible rust developing on the spring surface. A dry spring is a cracking spring in waiting. In Marietta’s humidity cycles, rust accelerates quickly on an unlubricated spring: we see two-year-old springs with surface rust deep enough to compromise the metal.
Weatherstripping and the Pollen Problem
The weatherstripping along the bottom of your garage door and around the frame does more than keep out weather. It keeps out the pine pollen, the red clay dust, and the occasional ambitious Palmetto bug that would otherwise make your garage a less pleasant place. A failing weatherstrip in Marietta means a garage that fills with yellow dust every spring and that lets the summer humidity in, which accelerates rust on everything metal in the garage.
Pass standard: The bottom seal contacts the floor evenly across the full width of the door with no visible gaps. The side and top seals are intact with no tears, no brittleness, and no separation from the frame. When the door is closed, you should not see daylight through any seam.
Fail standard: Any visible crack in the rubber, any gap under the closed door wider than a pencil, any seal that has become stiff and brittle to the touch, or any section that has pulled away from its mounting track. A bottom seal with a crack will fail completely within a season in Marietta’s heat, because the rubber bakes in the summer sun every afternoon.
Replacing the bottom seal is a $75-$150 repair, and it’s one of the few items on this checklist we’d say a handy homeowner can do themselves if they’re so inclined, provided the torsion spring system is left completely alone. The seal slides into a track at the bottom of the door; it doesn’t require touching anything under tension.
What You Can Safely Check Versus What Needs a Technician
This is where most garage door maintenance articles go vague. They tell you to “inspect” everything, which is dangerous advice when the everything includes a torsion spring holding several hundred pounds of torque. A real maintenance checklist draws a hard boundary. Here’s ours.
The homeowner-safe list
- Visual inspection of springs, cables, rollers, tracks, and weatherstripping (look only, do not touch the spring or cables)
- Operating the door through three full cycles and noting any unusual sounds or movements
- Checking the bottom seal for cracks and daylight gaps
- Testing the auto-reverse safety sensor by placing a piece of lumber under the closing door (the door should reverse on contact)
- Lubricating the spring faces, hinges, and roller bearings with a dedicated garage door lubricant
- Checking the limit switch behavior by watching where the door stops on three consecutive cycles
The technician-only list
- Any adjustment to the torsion spring tension
- Any cable replacement or re-seating
- Any track adjustment or bracket re-alignment
- Any limit switch recalibration involving the opener’s internal settings
- Any trolley carriage disassembly or rail replacement
- Any work requiring removal of the spring assembly or any component under load
The reasoning on the technician-only list is not gatekeeping. It’s physics. A torsion spring under full tension holds enough stored energy to break bone. A cable under tension that releases will cut. The limit switch and trolley carriage live inside the opener unit, which also contains a capacitor that can hold a charge even when unplugged. None of this is safe to handle for a homeowner who hasn’t been trained, and we’ll tell you the same thing we tell every Marietta homeowner who calls us: we’d rather you spend the money on the repair than on the emergency room visit. For How to Hire a Garage Door Contractor in Marietta: A Step-by-Step Guide, see our advice on vetting technicians.
That said, we want you doing the visual inspection and the lubrication. A homeowner who knows what a fraying cable looks like is a homeowner who calls us before the door falls off its tracks. The inspection is the point. The repair is our job.
The Cost Case: Caught Early vs. Full Failure
This section answers the question most maintenance guides won’t touch: what does it cost if I catch this early, and what does it cost if I don’t? These are real numbers from the Marietta market, based on what we quote and what we repair across Cobb County every week.
| Component | Caught Early Cost | Full Failure Cost | What Happens if You Wait |
|---|---|---|---|
| Torsion spring (single) | $180 – $280 | $450 – $750 | Door becomes dead weight; opener strains and can burn out trying to lift it |
| Cable (single) | $110 – $180 | $350 – $550 | Door drops unevenly, jams in tracks, risk of panel damage |
| Roller set | $90 – $150 | $250 – $400 | Seized roller chews track, door derails, panel gets bent |
| Trolley carriage | $150 – $250 | $400 – $600 | Carriage seizes, opener motor burns out, full opener replacement |
| Limit switch | $85 – $130 | $250 – $450 | Door slams repeatedly, panel cracks, sensor damage |
| Bottom weatherstrip | $75 – $150 | $350 – $600 | Water and pollen intrusion, floor damage, rust on door bottom |
The pattern is consistent: catching any of these items early costs roughly half or less of what the full failure costs. The torsion spring is the clearest example on the table. A spring that’s showing signs of age, such as surface rust or a slight coil gap, gets replaced on a scheduled day for around $250. A spring that snaps on a Monday morning, while your car is in the garage, costs you a missed appointment, an emergency call, and the potential for a second spring replacement if the failure was symmetrical. The math is not subtle.
We can speak to this with confidence because we’ve been doing garage door repair in Marietta since 2001. The emergency calls we get are rarely surprises: they’re the end of a story that started months earlier with a sign someone didn’t know to look for. That’s the entire case for this checklist.
Common Mistakes to Avoid
- Lubricating the track. The rollers are meant to roll, not slide. Grease in the track collects pollen and grit, creating a grinding paste that accelerates wear. Lubricate the roller bearings, not the rail.
- Using WD-40 on the spring. WD-40 is a solvent and a water displacer, not a long-term lubricant. It strips the existing lubricant and dries out. Use white lithium grease or a dedicated garage door lubricant.
- Ignoring a reversing door. A door that bounces back after touching the floor is talking to you. That’s the limit switch, and ignoring it turns a $100 calibration into a $400 panel replacement.
- Not checking the safety sensors. The auto-reverse sensors at the bottom of the door track are safety equipment, not convenience features. A misaligned sensor that disables auto-reverse is a serious risk, especially in a household with children or pets.
- Doing any DIY spring or cable work. There is no version of safe DIY torsion spring adjustment. The stored torque will not negotiate. If a YouTube video tells you it’s doable, close the video.
- Seasonally greasing without checking what the grease is hiding. Fresh grease over rust looks like maintenance but is actually concealment. If you have to lube it monthly to keep it quiet, something underneath is wearing out, and the lubricant is masking the evidence.
When to Call a Professional
You should call a professional if any of these things happen during your inspection: you find a failing spring, cable, roller, or track component under the fail standards above; the door reverses on close and you can’t correct it; the opener makes a grinding sound from the rail area; or you see rust flakes on the spring surface. You should also call if you’re unsure whether something passes. We’d rather answer a question than dispatch for a preventable emergency. Doyle Garage Doors Marietta offers free estimates throughout Marietta and we’ll give you a written price before any work begins: call (762) 209-3693 and a live person will answer, day or night.
Frequently Asked Questions
At least once a year, ideally twice: once in late January before pollen season, and once in October before the winter temperature drops. Homes with non-climate-controlled garages in Marietta should add a third check in August, because summer heat stresses the trolley carriage and roller components more than any other season.
In our experience across Marietta since 2001, the three most common sudden failures are torsion spring breaks, trolley carriage wear, and limit switch drift. Together they account for roughly 80% of the emergency calls we field. All three can be caught by an inspection that knows what to look for.
Yes: the visual inspection items, the lubrication, the weatherstripping replacement, and the safety sensor test are all homeowner-safe. No: any adjustment of the torsion spring, any cable work, and any track re-alignment should be left to a trained technician. The spring and cables operate under stored tension that can cause serious injury if released improperly.
If you do the inspection and lubrication yourself, the materials cost about $20 to $40 per year for lubricant and replacement weatherstripping. If you hire a professional maintenance visit in Marietta, expect to pay $75 to $150 for a comprehensive inspection and lubrication. Repairs to items flagged by the inspection range from $85 for limit switch recalibration to $750 for a worst-case torsion spring replacement on a double door. Garage door installation in Marietta for a full door replacement typically runs $1,200 to $3,500 depending on size and material.
Two reasons: heat and the annual pollen-lubricant compound. Marietta summer garage temperatures routinely exceed 100 degrees, which softens the plastic wear surfaces in rollers and the trolley carriage. The pollen that accumulated during spring combines with garage lubricant to form a grit paste that increases friction. The fix is a thorough cleaning and re-lubrication in June, after pollen season ends.
We service and repair all major opener brands including LiftMaster, Chamberlain, Genie, and Raynor, along with door brands including Clopay, Amarr, and Wayne Dalton. If your opener is a Craftsman or a Chamberlain from the last 20 years, we have parts on the truck. Garage door opener repair in Marietta is one of our most common service calls, and we can typically diagnose a limit switch or trolley carriage issue in a single visit.
The Bottom Line
This checklist exists for one reason: the difference between a $150 roller replacement and a $1,500 door replacement is usually a 20-minute inspection that never happened. The three components that fail most often in Marietta are torsion springs, trolley carriages, and limit switches. All three give advance warning. A spring develops rust and a widening coil gap. A trolley carriage leaves metal shavings on the rail. A limit switch drifts a little more each month. None of them break without first showing something. Print this checklist, run through it once a year in late January, and when something fails the pass/fail standard, call (762) 209-3693 before it becomes a Monday morning emergency. For more guides & resources on keeping your door running smoothly, visit our blog. A real person will answer, and we’ll give you a written price before any work starts.
Written by Aaron Teague, Owner at Doyle Garage Doors Marietta, serving Marietta since 2001.
See the difference
 Before
 After
After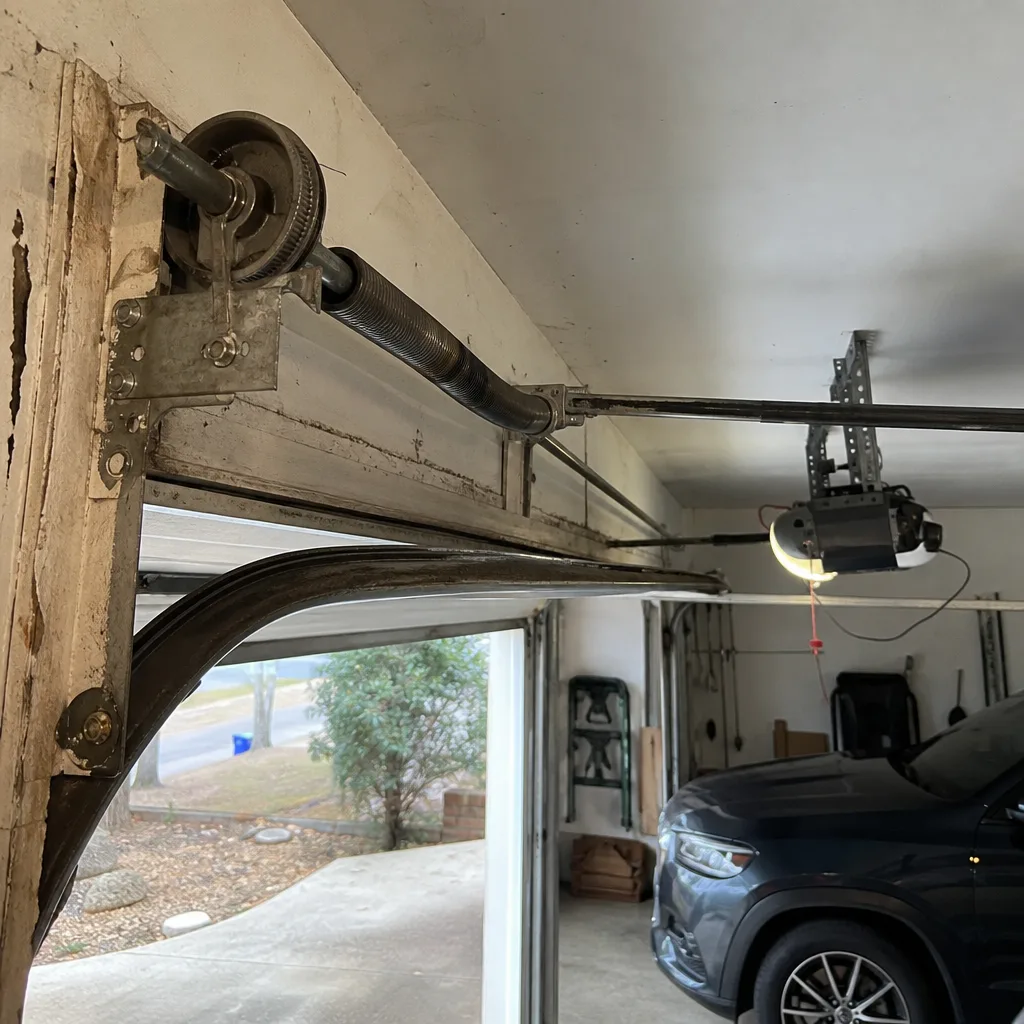 Before
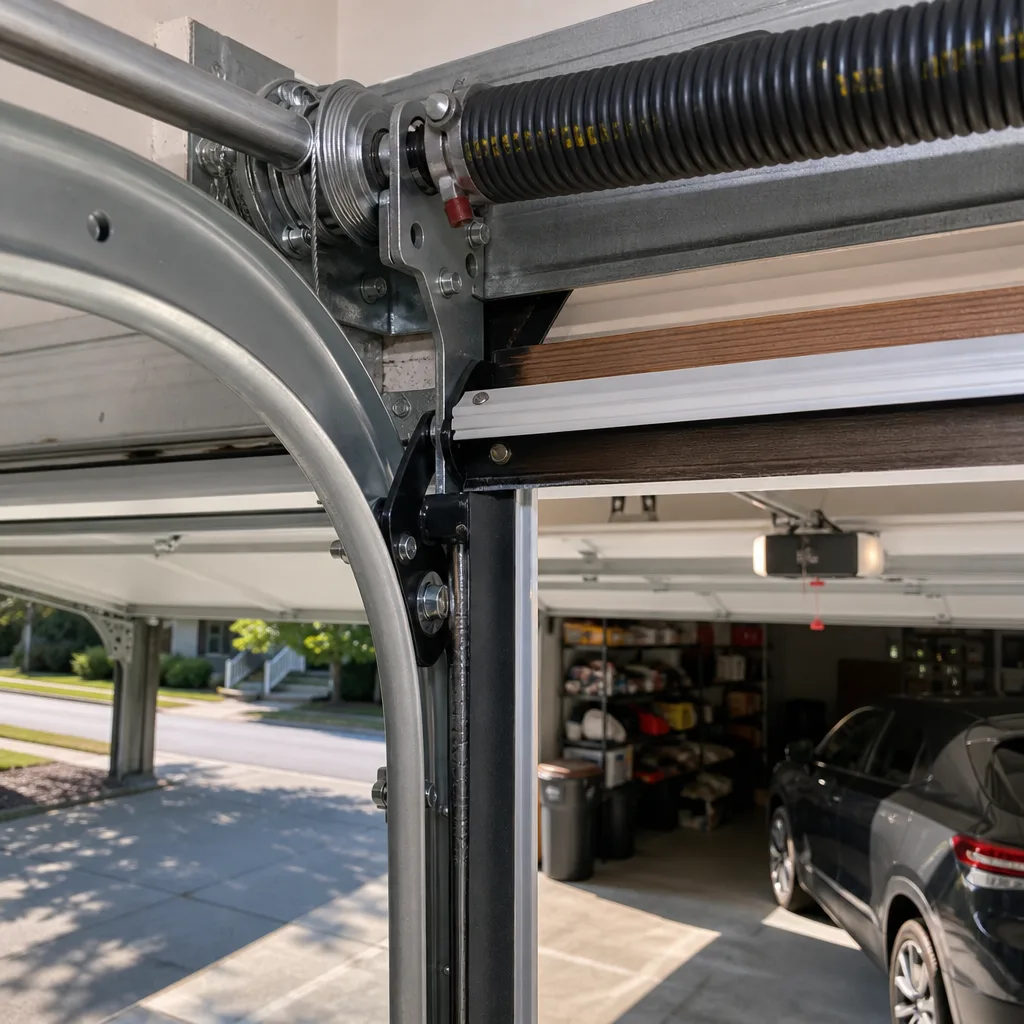 After
After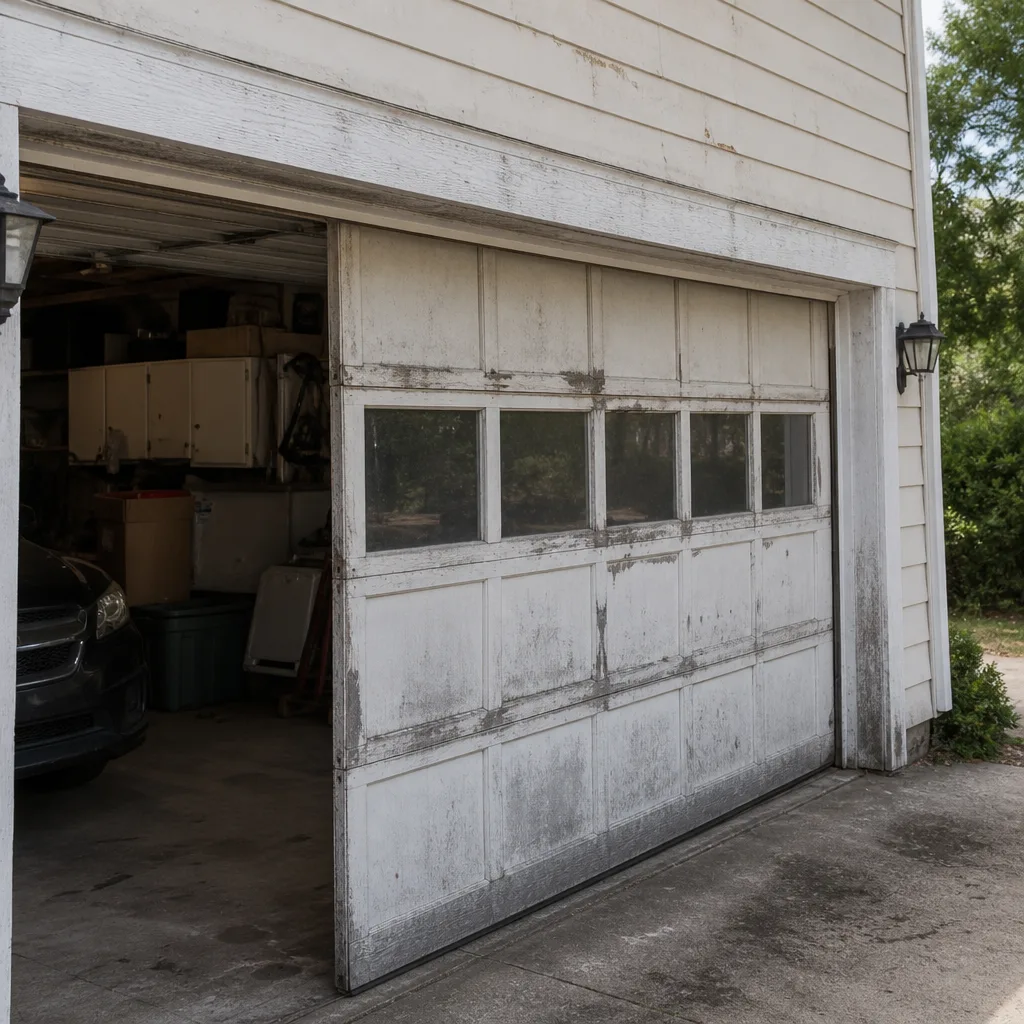 Before
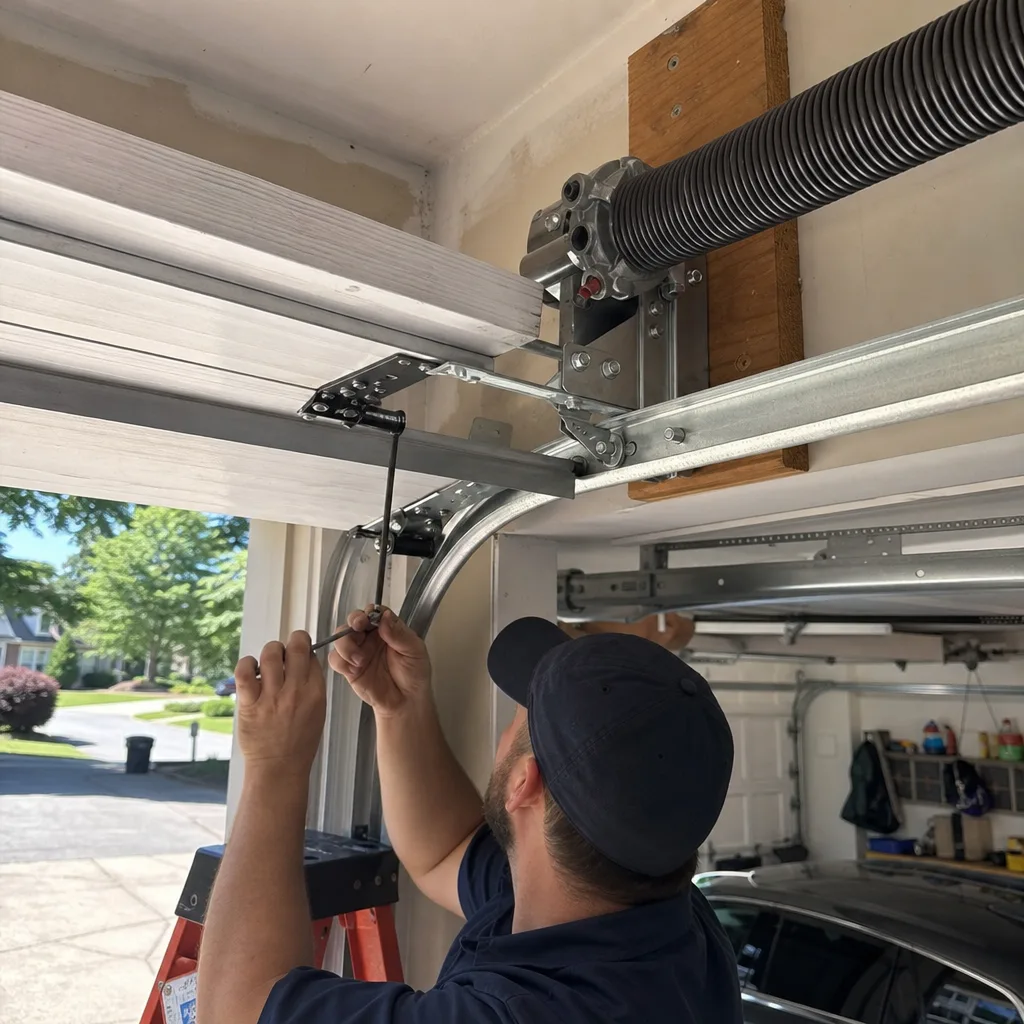 After
After